I have a fondness for the older, larger tilt pads that were popular between 1930 and 1970.
I’m especially excited about pads dating from the first half of this age spread. They tend to have a slightly steeper tilt angle and a larger rubber playing surface. The reddish rubber surface tends to keep its rebound for a reasonably long time if it’s stored indoors and taken care of. If it’s left outside, the rubber degrades quickly, becoming unplayable.
Dating some of these pads can be challenging due to any or all of the following reasons:
— Pad designs from this era tended to be similar across multiple companies, and were not changed often;
— Available materials were similar, due to availability of both materials and types of rubber processing;
— Major drum companies changed hands multiple times between the mid 1930s and the mid 1950s, meaning that branding had to change along with ownership. Good examples of this include Ludwig, Leedy, WFL, George Way and Camco. There are others.
Thanks to the efforts of the fellow who created and maintains the DrumArchive web library, hundreds of pdfs of historic drum catalogs and fliers can be examined and the pictorial evidence found can help confirm what started as a hunch as to the year a pad was made and sold. A recent deep dive into the archive helped me determine the maker and age range of this pad, which now makes it one of my oldest vintage pads.
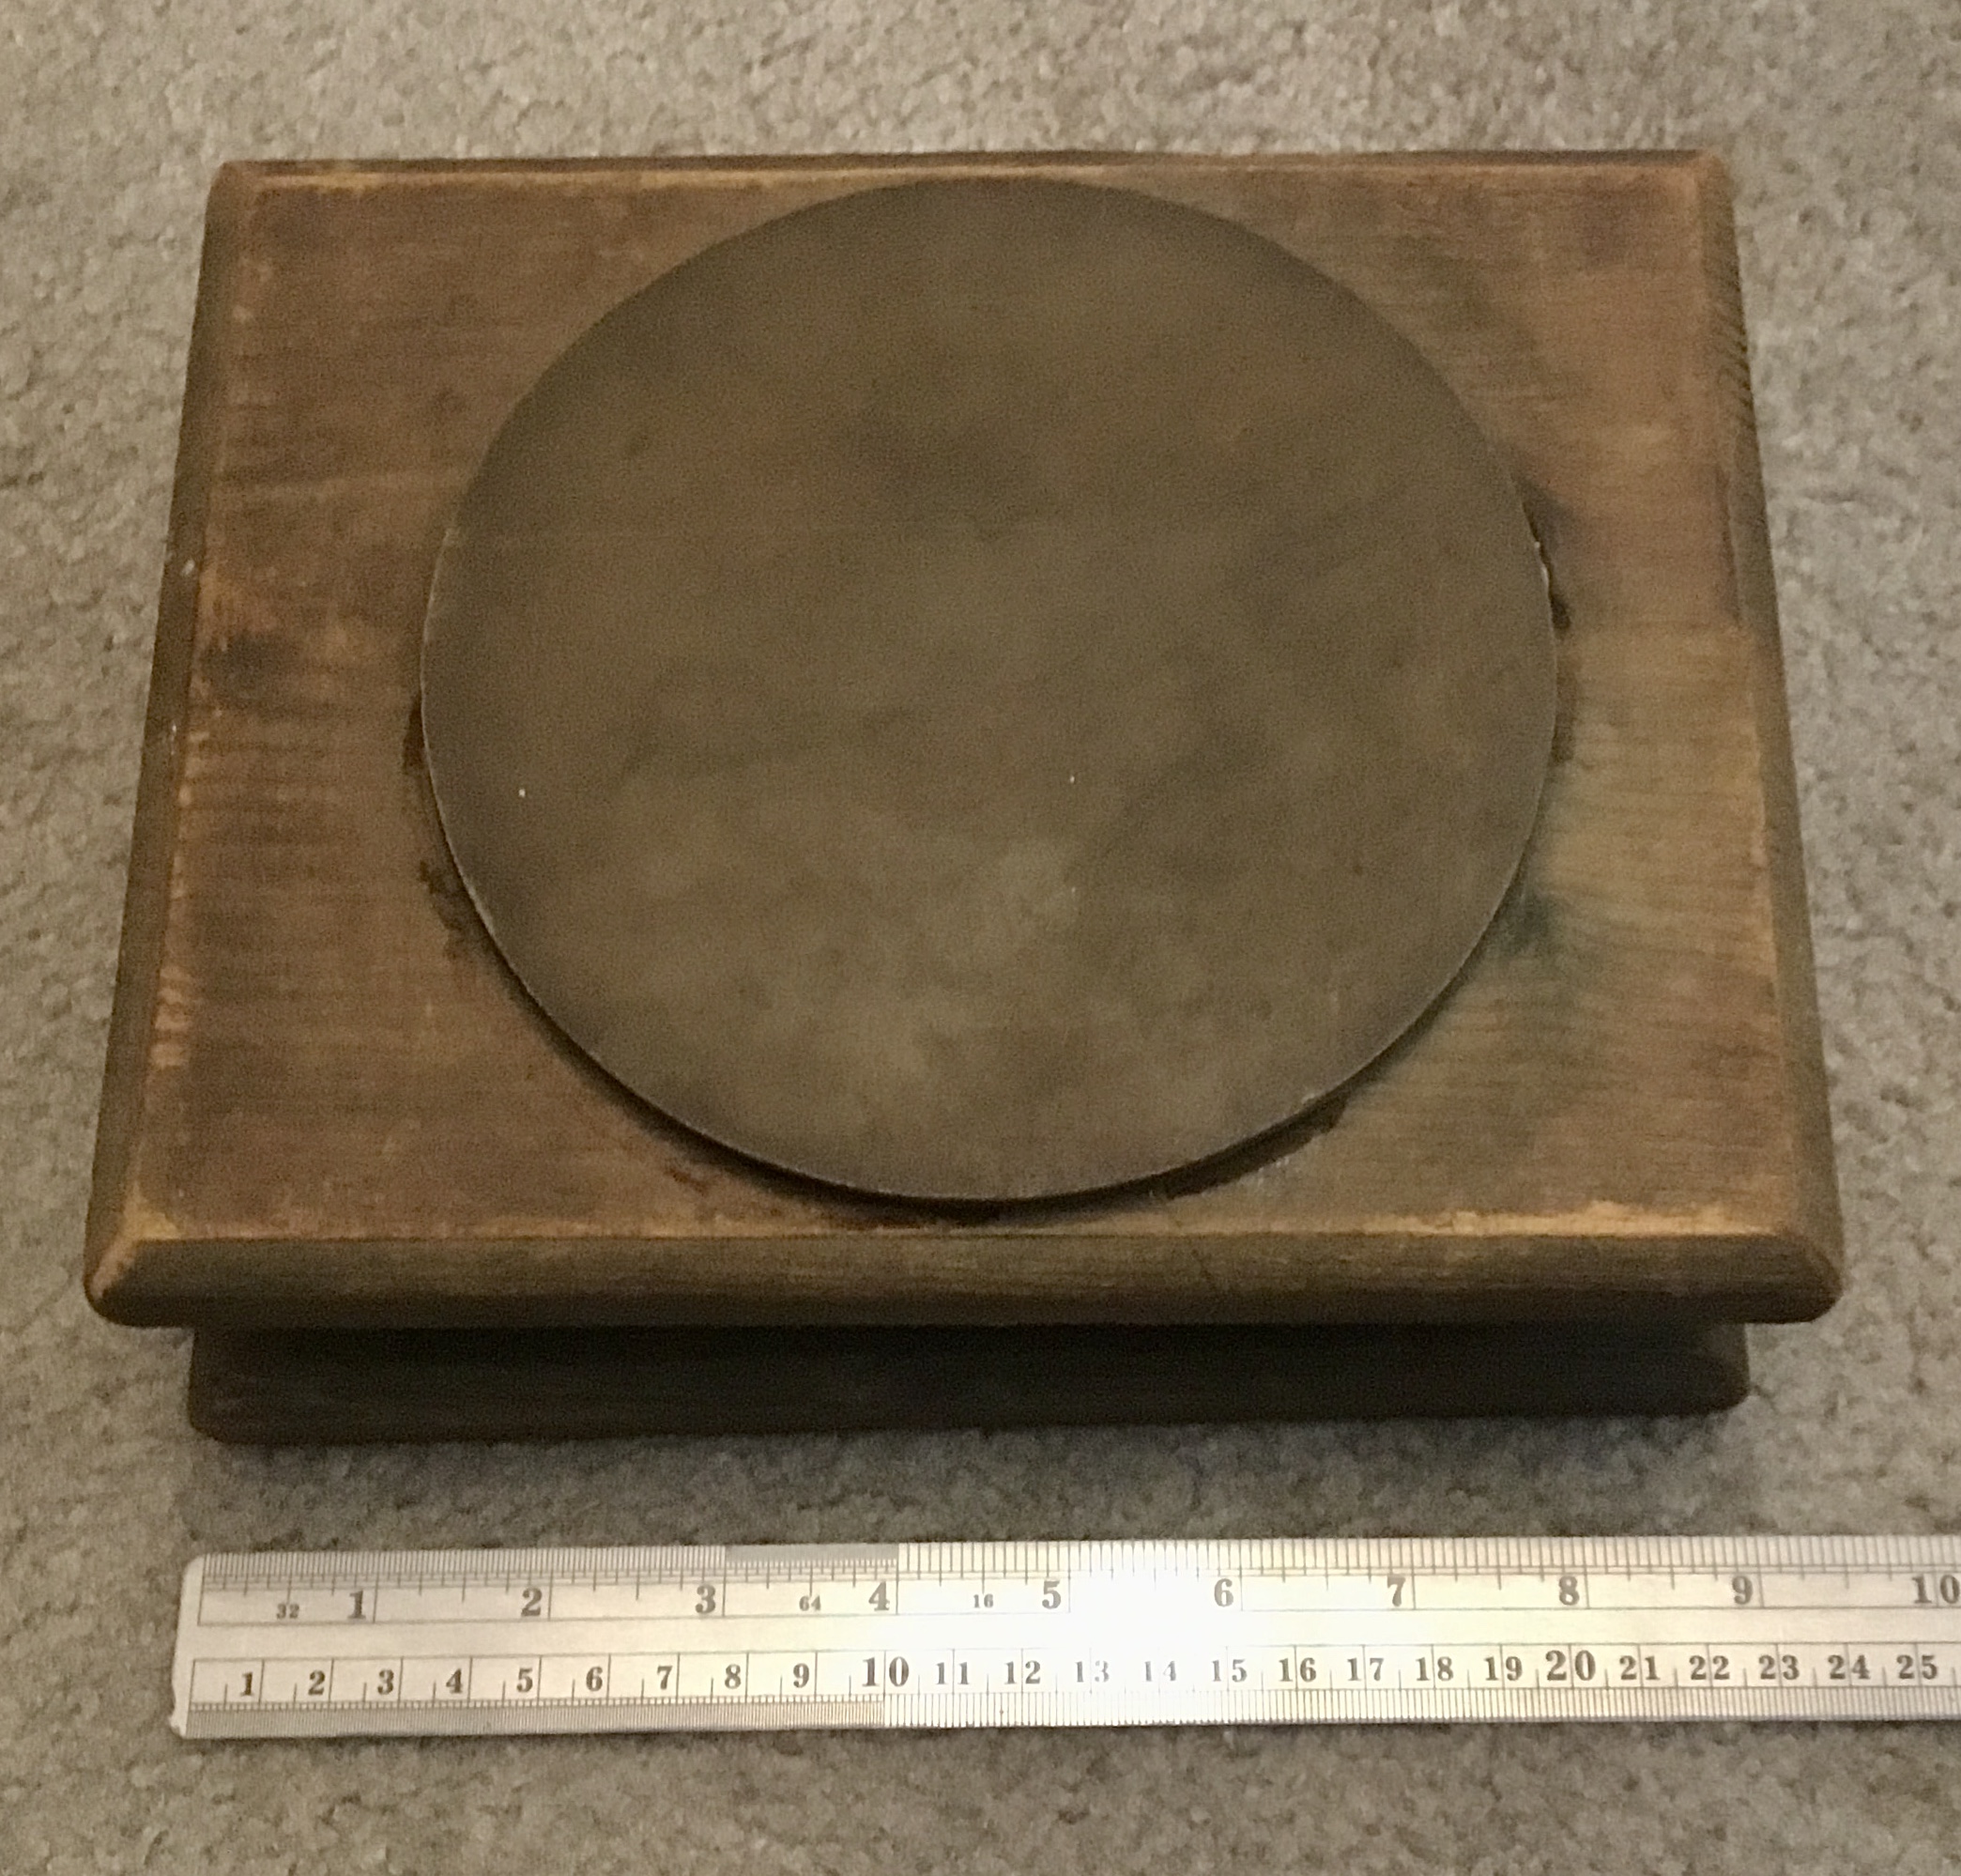
I obtained this pad last spring, and couldn't figure out who had made it or when.
The reddish rubber on top is likely original, though that's impossible to prove. Also, there's no decal on the wood anywhere. So all I have to go on is the design, including the size and shape of the wood panels and any distinguishing features.
The bottom panel has a circular cutout that appears to serve as a sound enhancer.
The rear-facing support panel has carved-out sides that add some flair to the pad's appearance.
If you turn the pad over, the bottom is made of a very thin fiberboard, which covers the sound hole. Presumably, this fiber bottom has no function.
Or does it?
Going into the Drum Archive, I looked through multiple listing of Ludwig catalogs, and found nothing resembling that shape or style.
But when I turned to catalogs from Leedy Drums, I discovered that they had made this very pad, including the shape of the support panel, the sound hole and the fiber bottom -- which was actually designed to be a second practice surface. Leedy sold this model as their "Two-Way" Practice Pad.
Drum Archive has Leedy catalogs starting in 1933, and my pad appears in every Leedy catalog from 1933 through 1949. The next catalog on file dates from 1953, by which time the company was called Leedy & Ludwig. Conn owned both companies and merged them by 1950. (In 1955, Leedy was sold to Slingerland Drums, and Bill Ludwig, Sr. bought back the Ludwig Drum Company and merged it with what was left of his own WFL Drum Company. By 1965, Leedy was on the wane, and was completely subsumed into Slingerland the following year.)
Earlier versions of the Two-Way pad appear to have been made with a lighter color of rubber, but since everything was printed in black and white there's no way to confirm what color the rubber was unless I find a much earlier version of the pad. I'd guess that either the white rubber was replaced, or more likely the reddish rubber came into use during World War II because high grades of rubber were being rationed.
This pad still sounds and feels good, though the rebound of the rubber is slightly lessened with age. The fiber bottom is intact and I have tried playing lightly on it with skinny sticks, but I won't make a habit of this. It's similar to the fiber that was also being used for drum cases for decades, though perhaps a little bit thinner and now a bit warped in the center. I'm glad it's still there. Now that I've been able to date this I can determine that it's among the oldest pads in my collection. I can't really estimate its age much beyond a range from between 1933 and roughly 1949, but that still makes this pad between 76 and 92 years old. That it's still in quite playable condition is remarkable, since practice pads of this era were generally among the cheapest items in a catalog and among the most abused by school drummers. When one survives in such good shape, that makes it a real find.


