I love these old Ludwig pads from the 1960s and 70s.
For anyone who grew up playing on Mylar heads, these are darned near perfect. The feel is the closest to a real drum without the volume. They were sold separately and were also included in student kits with snare drum and bells.
Finding one today is difficult. Model P-378 (8”) turns up more often than model P-379 (10”), but you really have to scour the online want ads for them. Ludwig stopped making these pads in 1980 or so. They offered the parts for a few more years, but then stopped making those too. Very occasionally, I’ve found a replacement head or a few tensioning nuts online, but they’re rare and expensive because the seller usually knows what they have.
When I do find one, they are very often quite used, sometimes abused, and in need of repair. Lacking a supply of replacement parts, I’ve had to make do with what’s in front of me.
The original wood used for the baseplate and internal base was very soft, probably pine, to cut down on production costs. Unfortunately, that means it’s fragile and wears with time and use. The construction is simple, and that means a worn pad can be repaired or at least extended pretty easily.
So far, I’ve been lucky. I’ve been able to repair every pad I’ve found and make it useable again. Sometimes, it’s a matter of removing pieces, cleaning them up and reassembling.
Other times, the wood baseplate is pretty beaten up — splintered and/or warped — and I have to remove all of the metal buts, reverse the baseplate and reinstall them from the other side. Doing this helps to reverse some of the effects of warping, and gives the heads of each “finned screw” new wood to bite into.
In a couple of cases, owing to lack of replacement heads, I’ve chosen to add another layer to the head. Either from the underside or directly on top, to help the head last longer. Neither approach seems to affect the sound or feel adversely.
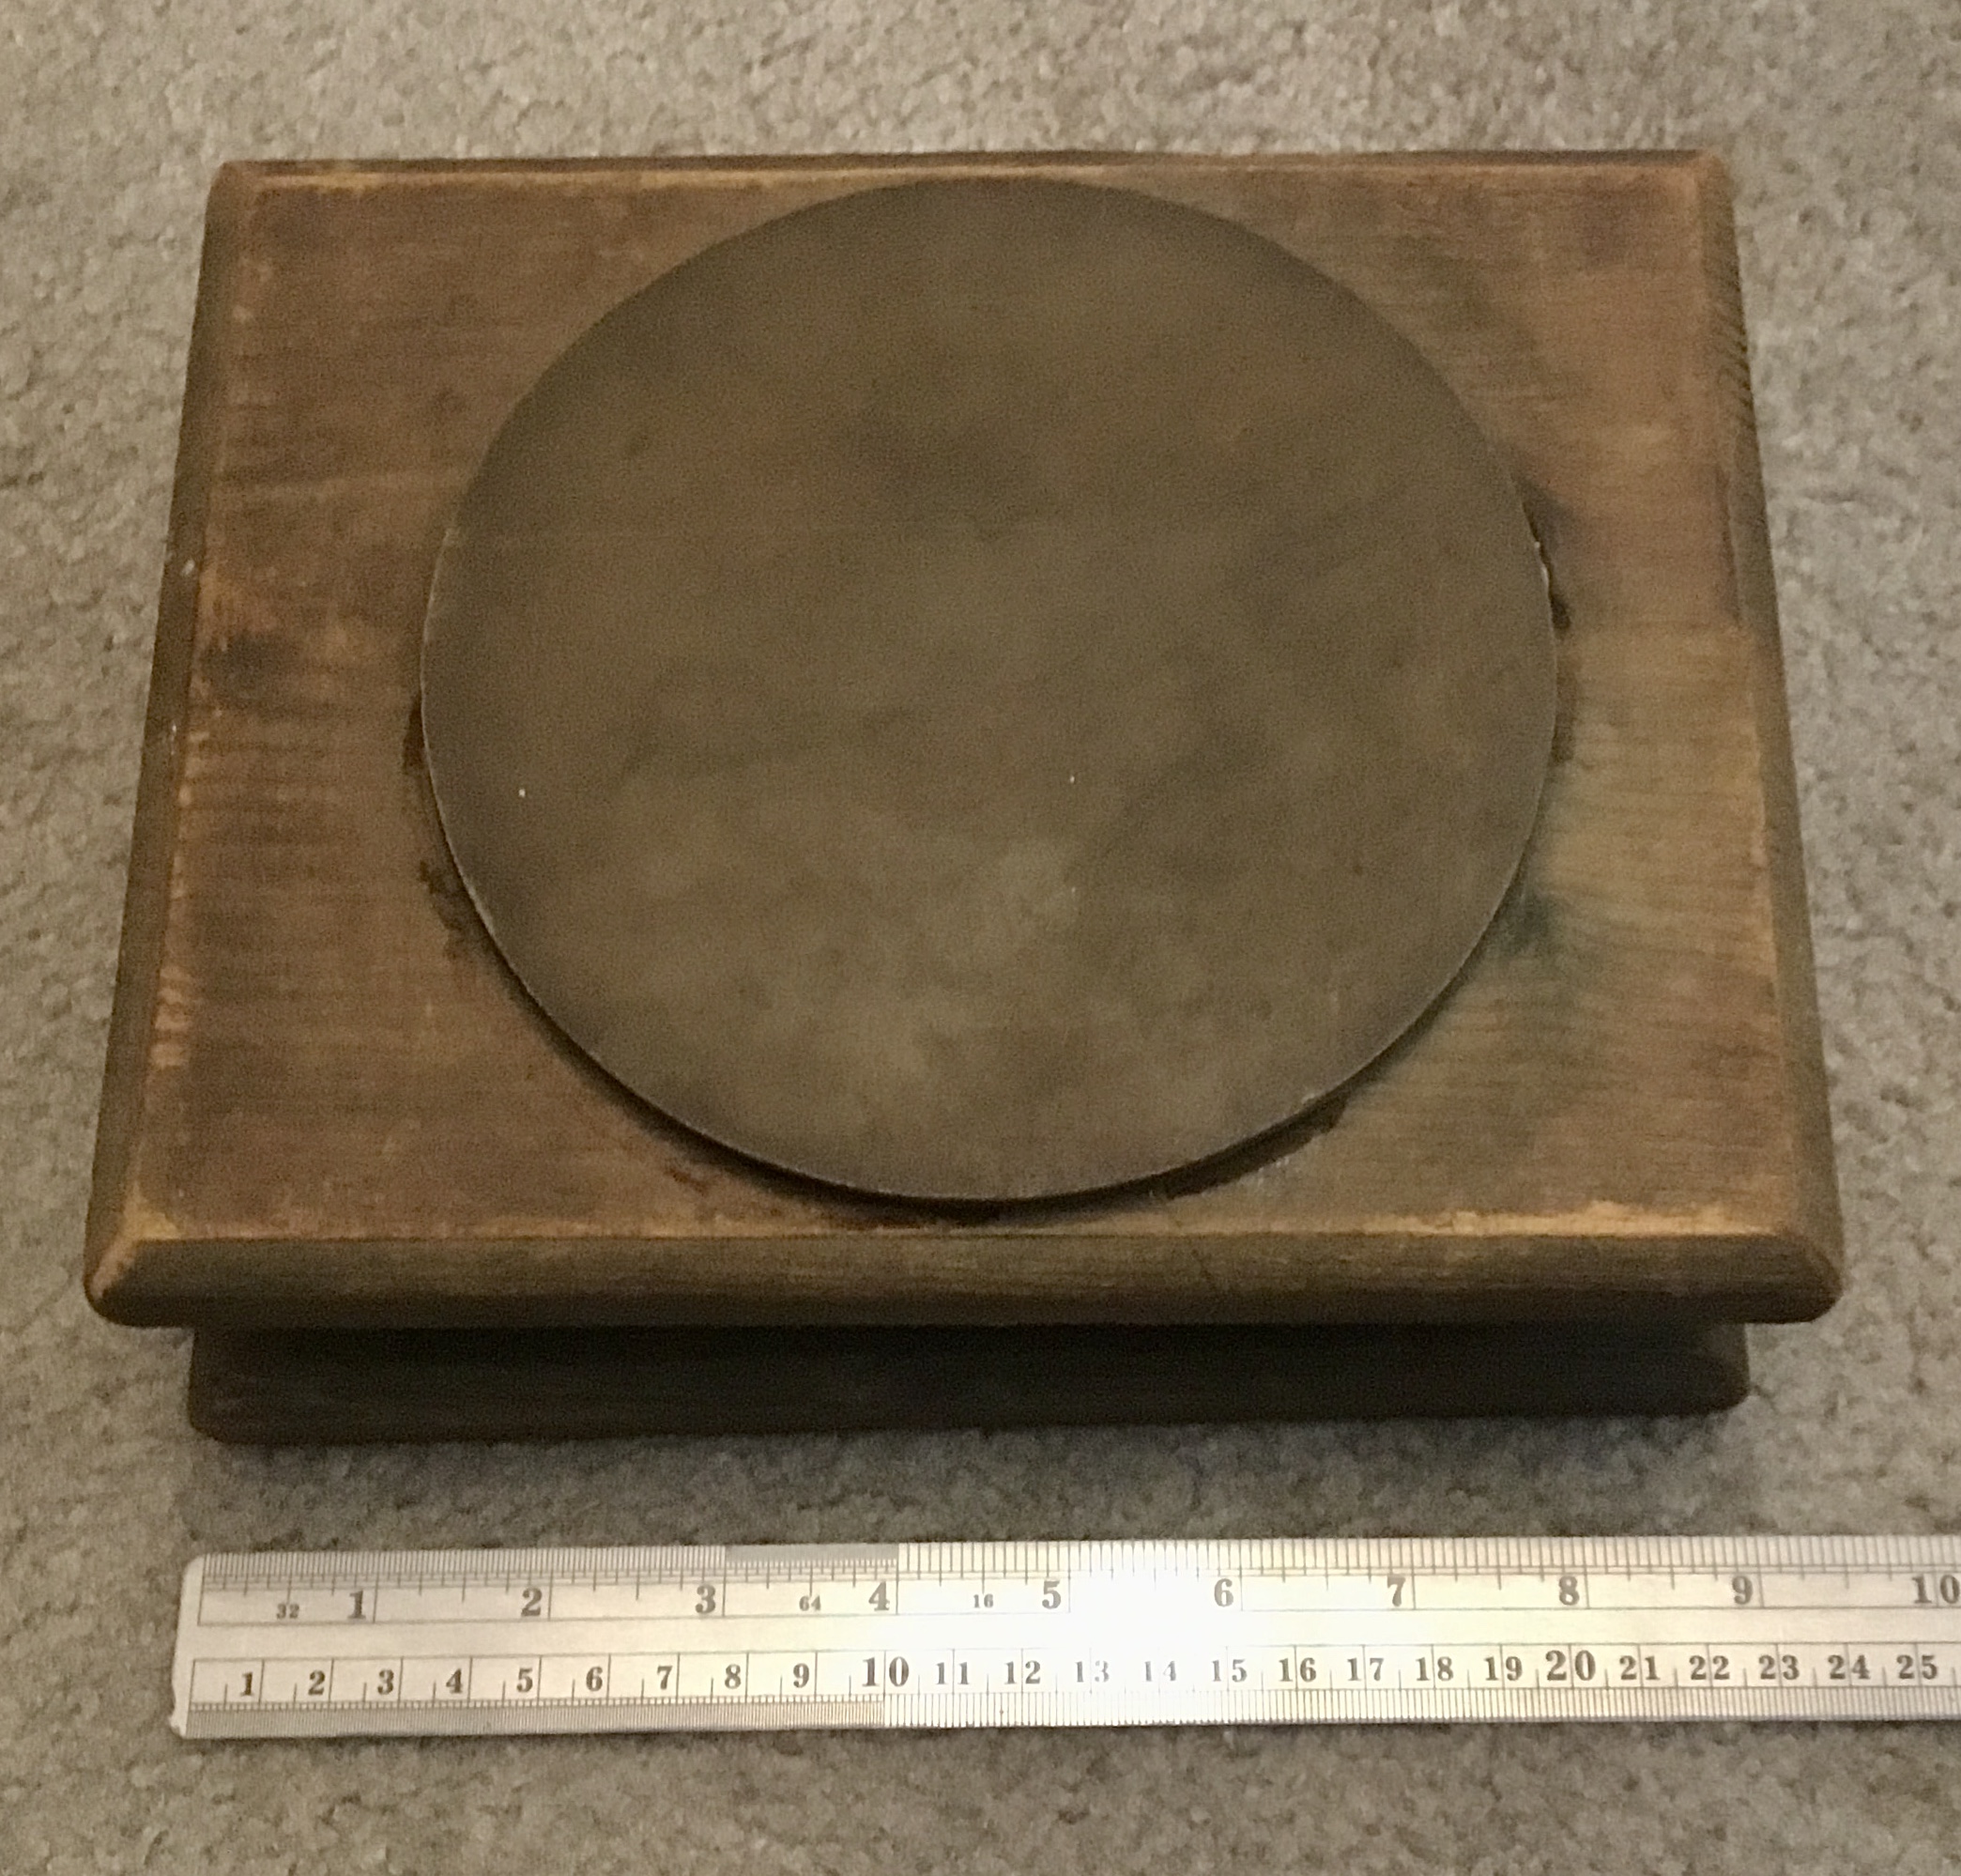
The latest pad I found, an 8” model, came from a private seller cleaning out her garage. We agreed on a price and I got the pad home, where I dismantled it and examined the pieces.

The baseplate was pretty hammered, and one of the tensioning nuts had rusted frozen to the finned screw. In order to save this pad, I would have to carve a bit of the wood away so I could gain purchase with pliers
and hold onto it while applying a spot of oil and turning the tensioning nut. I reasoned that when I had removed the screw, I could fill in the gouge with a thing piece of wood cut to fit, apply it with wood glue, and gently poke a new hole in the spot.
After removing the final screw, I filled in the divot with the tiny piece of wood and set it in the divot with wood glue, clamping it in place. When it dries, I should be able to carefully drill a new hole, ream it to size, and reassemble the pad.
(The tape applied on the side is there to keep the wood glue from running out.)
Once dry enough, I removed the clamp, poked a hole and called it good. The screw went in easily, and held fast to the new underside.
Other enthusiasts of this make and model, most notably
Rick Dior, has a full workshop of tools, so when he has to restore one of these pads, he simply cuts a new baseplate from hardwood and installs the metal pieces into the new baseplate.
Since I don’t have power tools or much woodworking experience, I tend to do repairs that are more rough-and-ready. My goal is to make these pads useable again, not museum-worthy.
After flipping the baseplate, I reinstalled the threaded hole assembly. This required some care, so I wouldn’t crack the plywood baseplate while sinking the teeth into the other side. I laid shop rags across my bench vise with the jaws open, to allow the threaded center to poke through the other side without mangling the metal.
Then I reinstalled the thick seating washer and the little rubber feet. I also laid in some Elmer’s Glue-All along the edges where the plywood was roughly finished. The hope is the fast-drying glue will help to keep those edges from splintering further. I can color them in with black paint pen if I like.
And voila! Good enough to play for years to come.
Meanwhile, I’ll keep my eyes peeled for replacement parts.
BONUS TIPS:
1. In the old Ludwig parts catalog from 1970 (see first photo at top), The square nut for the tuning assembly is referred to as part # P-124. If you try to look for this part today you won't find it, as Ludwig stopped making it years ago.
However, Ludwig continued making and selling their part # P-125, advertised as the
Super Classic Strainer Butt Plate Part, for a number of years after that (photo at left).
Guess what? It's exactly the same part, and will fit the threaded bolt on the old Ludwig pads. And if you ask for it by the other part number and name, you may have a slightly easier time finding a few.
2. Thanks to fellow Ludwig pad enthusiast Rick Dior, I was able to obtain these black vinyl end caps that slide over the tuning nuts, thereby saving my sticks from getting chopped up during practice.
You can find them on eBay and elsewhere, or perhaps at a large local hardware store. For this application, get the size with the 6.5mm inside diameter.


